Adding a Gallery
- Go to the Gallery section and click the "Add a Gallery" button, or jump straight to the "Add a Gallery" page from the navigation.
- Fill out the details for your gallery.
- Click the "Save" button to save your gallery.
Adding an Image to a Gallery
- Select the "Images" link next to the title of the gallery you want to add an image to under the Gallery section.
- Under the "Gallery Images" section, click the "Add Images" tab.
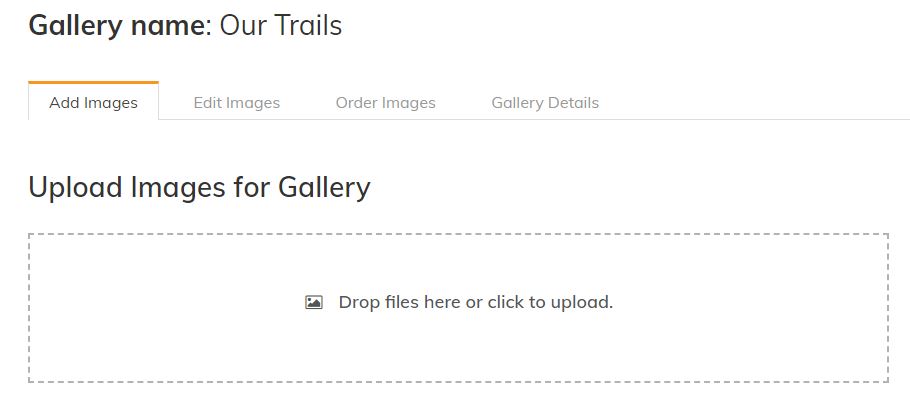
- Drag your images to the box or simply click into the box to select images from your computer to upload.
- Then click "Finish and Edit Details"
Categories
Add a Category
- Go to the "Categories" page under the Gallery section.
- Under the "Add a New Category" section, fill out the details for your new category.
- Click the "Add" button to add your new category.
Edit a Category
- Go to the "Categories" page under the Gallery section.
- Under the "Category List" section, click on the "Edit" link next to the category you want to edit.
- Adjust the category details as needed.
- When finished, click the "Update" link to save your changes.
Editing a Gallery's Details
- Select the "Images" link next to the title of the gallery you want to edit.
- Adjust the details in the "Gallery Details" section at the top of the page.
- When finished, click the "Save Gallery" button to save your changes.
Additional Tips
Select the "Edit" link next to a gallery title to quickly edit the title and order of the gallery.
Editing a Gallery Image's Details
- Select the "Images" link next to the title of the gallery you want to edit.
- Under the "Gallery Images" section, click the "Edit" link next to the image you want to edit.
- Adjust the details as needed.
- When finished, click the "Update" link to save your changes.